Mastering Box Corners Sewing: The Ultimate Guide To Elevate Your Crafting Skills
Let’s face it, sewing box corners is one of those skills that can turn your DIY projects from amateur to pro-level in no time. Whether you're making a pillowcase, a tote bag, or even a stylish clutch, mastering the art of box corners sewing will give your creations that polished, professional finish. And let’s be honest, who doesn’t want their handmade items to look store-bought?
Box corners sewing might sound intimidating at first, but trust me, it’s not as complicated as it seems. Once you get the hang of it, you’ll wonder why you ever avoided this technique. This guide will take you step-by-step through the process, breaking down the basics, sharing tips, and answering all those burning questions you might have.
So grab your fabric, thread, and scissors, because we’re about to dive into the world of box corners sewing. By the end of this article, you’ll be sewing sharp, crisp corners like a pro. Let’s get started!
- Kannada Movies 2025 New Releases Watch Online Legal Options
- Decoding Movie Rules From Tarantino To Movierulz Beyond
Table of Contents
- What Are Box Corners?
- Tools You’ll Need
- Step-by-Step Guide to Sew Box Corners
- Common Mistakes to Avoid
- Troubleshooting Tips
- Advanced Techniques for Box Corners
- Measuring Perfectly for Box Corners
- Which Fabric Types Work Best?
- Creative Ideas Using Box Corners
- Final Thoughts on Box Corners Sewing
What Are Box Corners?
Alright, let’s start with the basics. Box corners are those neatly squared-off corners you see on pillows, bags, and other sewn items. Instead of leaving the corners flat and floppy, box corners give your project structure and definition. They add a professional touch and make your sewing projects stand out.
Think of it this way—if you’re making a tote bag, a flat bottom won’t hold much, right? But if you box the corners, you create a functional and stylish shape that can carry more stuff. It’s all about functionality meets aesthetics, baby.
Why Are Box Corners Important?
Box corners aren’t just for looks—they’re practical too. They help create volume, stability, and shape in your sewing projects. Whether you’re making a pouch, a bag, or a cushion, box corners ensure your item has a purposeful form that works well for its intended use.
- Movie News More Exploring Movierulz Beyond Year
- Movierulz News Reviews Dangers Of Piracy In 2025 Find Out
Tools You’ll Need
Before we jump into the sewing part, let’s talk about the tools you’ll need to sew box corners like a boss. Don’t worry; you don’t need anything fancy. Here’s what you’ll require:
- A sewing machine (or needle and thread if you’re going old school)
- Fabric of your choice
- Scissors
- Pins
- A ruler or measuring tape
- A pen or fabric marker
- Optional: A corner turner for flipping the fabric right side out
These are your basic sewing essentials. You might already have most of them lying around if you’re into crafting. If not, a quick trip to your local craft store will get you sorted.
Step-by-Step Guide to Sew Box Corners
Now that you’ve got your tools ready, let’s dive into the nitty-gritty of sewing box corners. Follow these steps, and you’ll be a pro in no time:
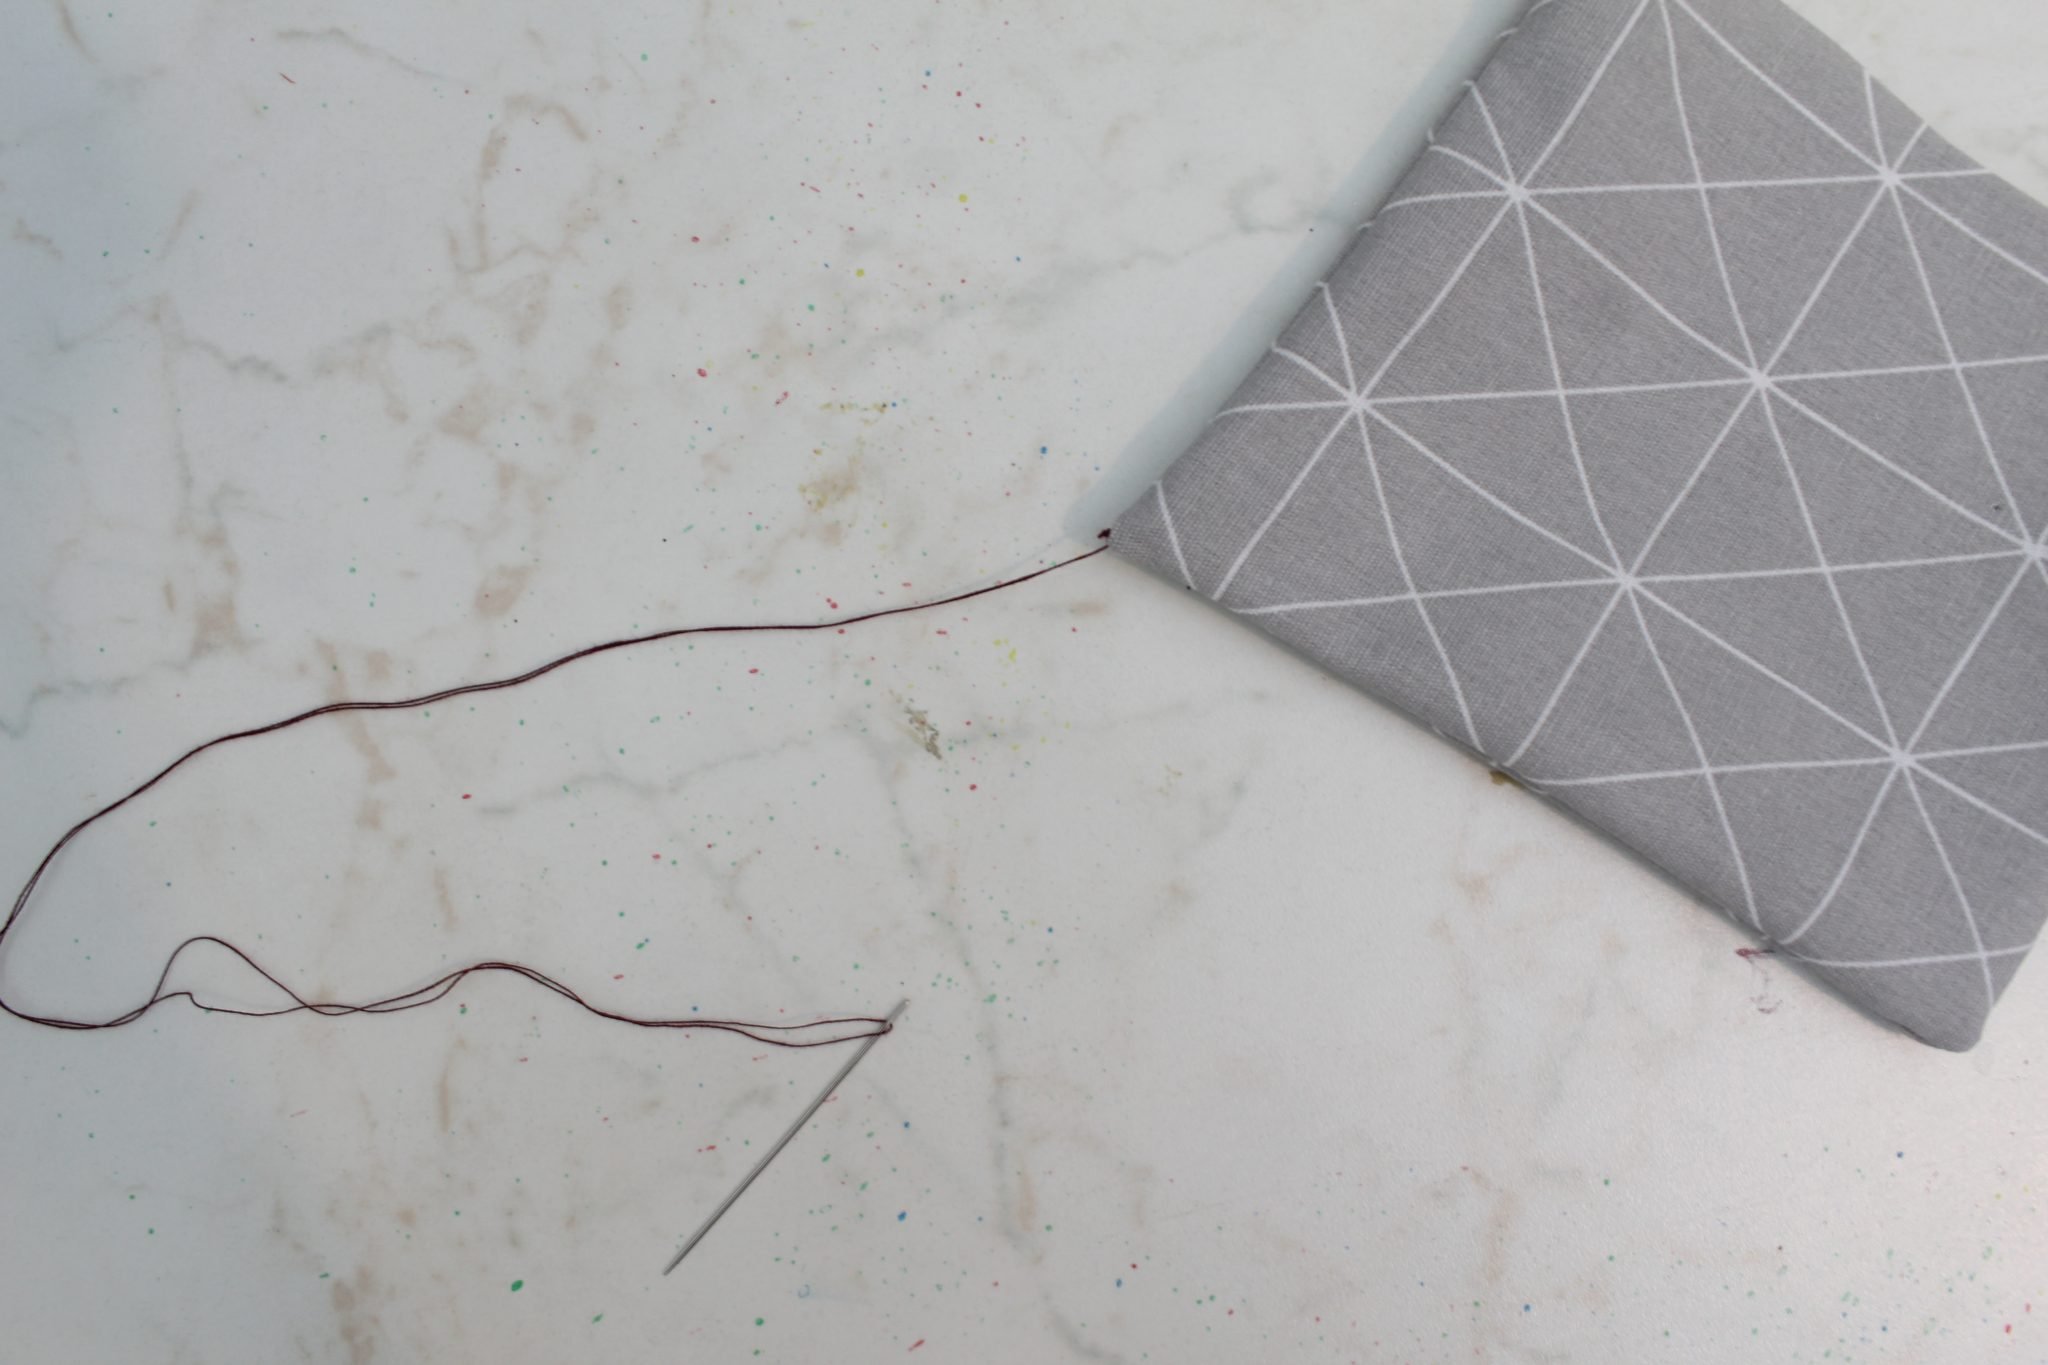
Step 1: Prepare Your Fabric
Cut your fabric to the desired size, leaving extra allowance for the seam. Make sure your edges are straight and your fabric is ironed. Precision is key here, folks.
Step 2: Sew the Sides
Pin the sides of your fabric together, right sides facing each other. Sew along the edges, leaving a small opening if you’re working with a closed item like a pillowcase.
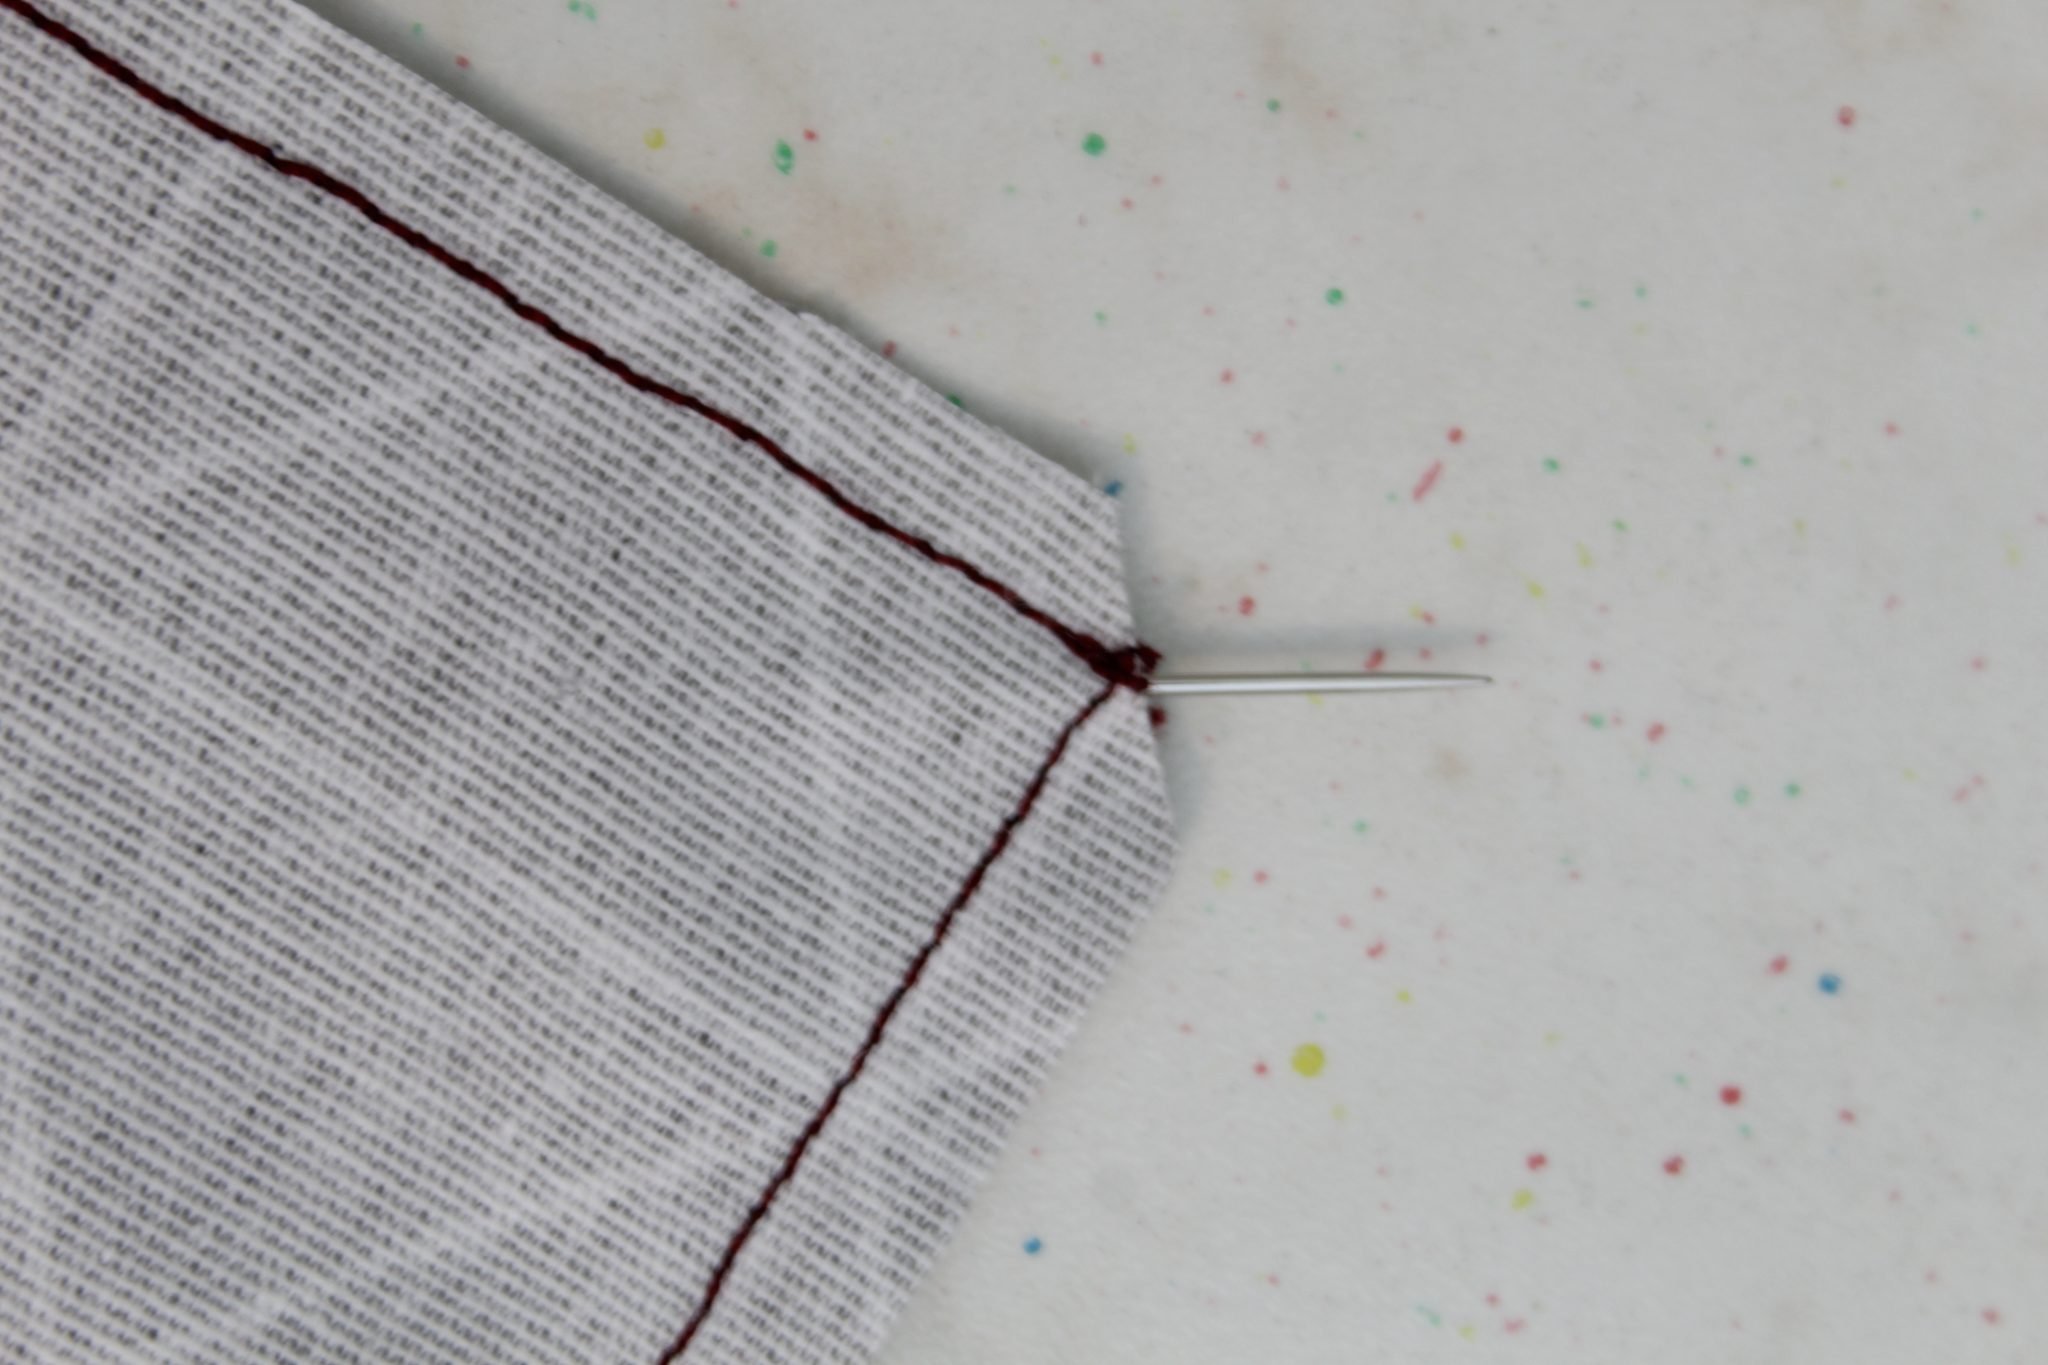
Step 3: Mark the Corners
Here’s where the magic happens. Take the corner of your fabric and pinch it so that the seams meet at a point. Use your ruler to measure the width you want for your box corner—usually around 1-2 inches works well. Mark this point with your fabric marker.
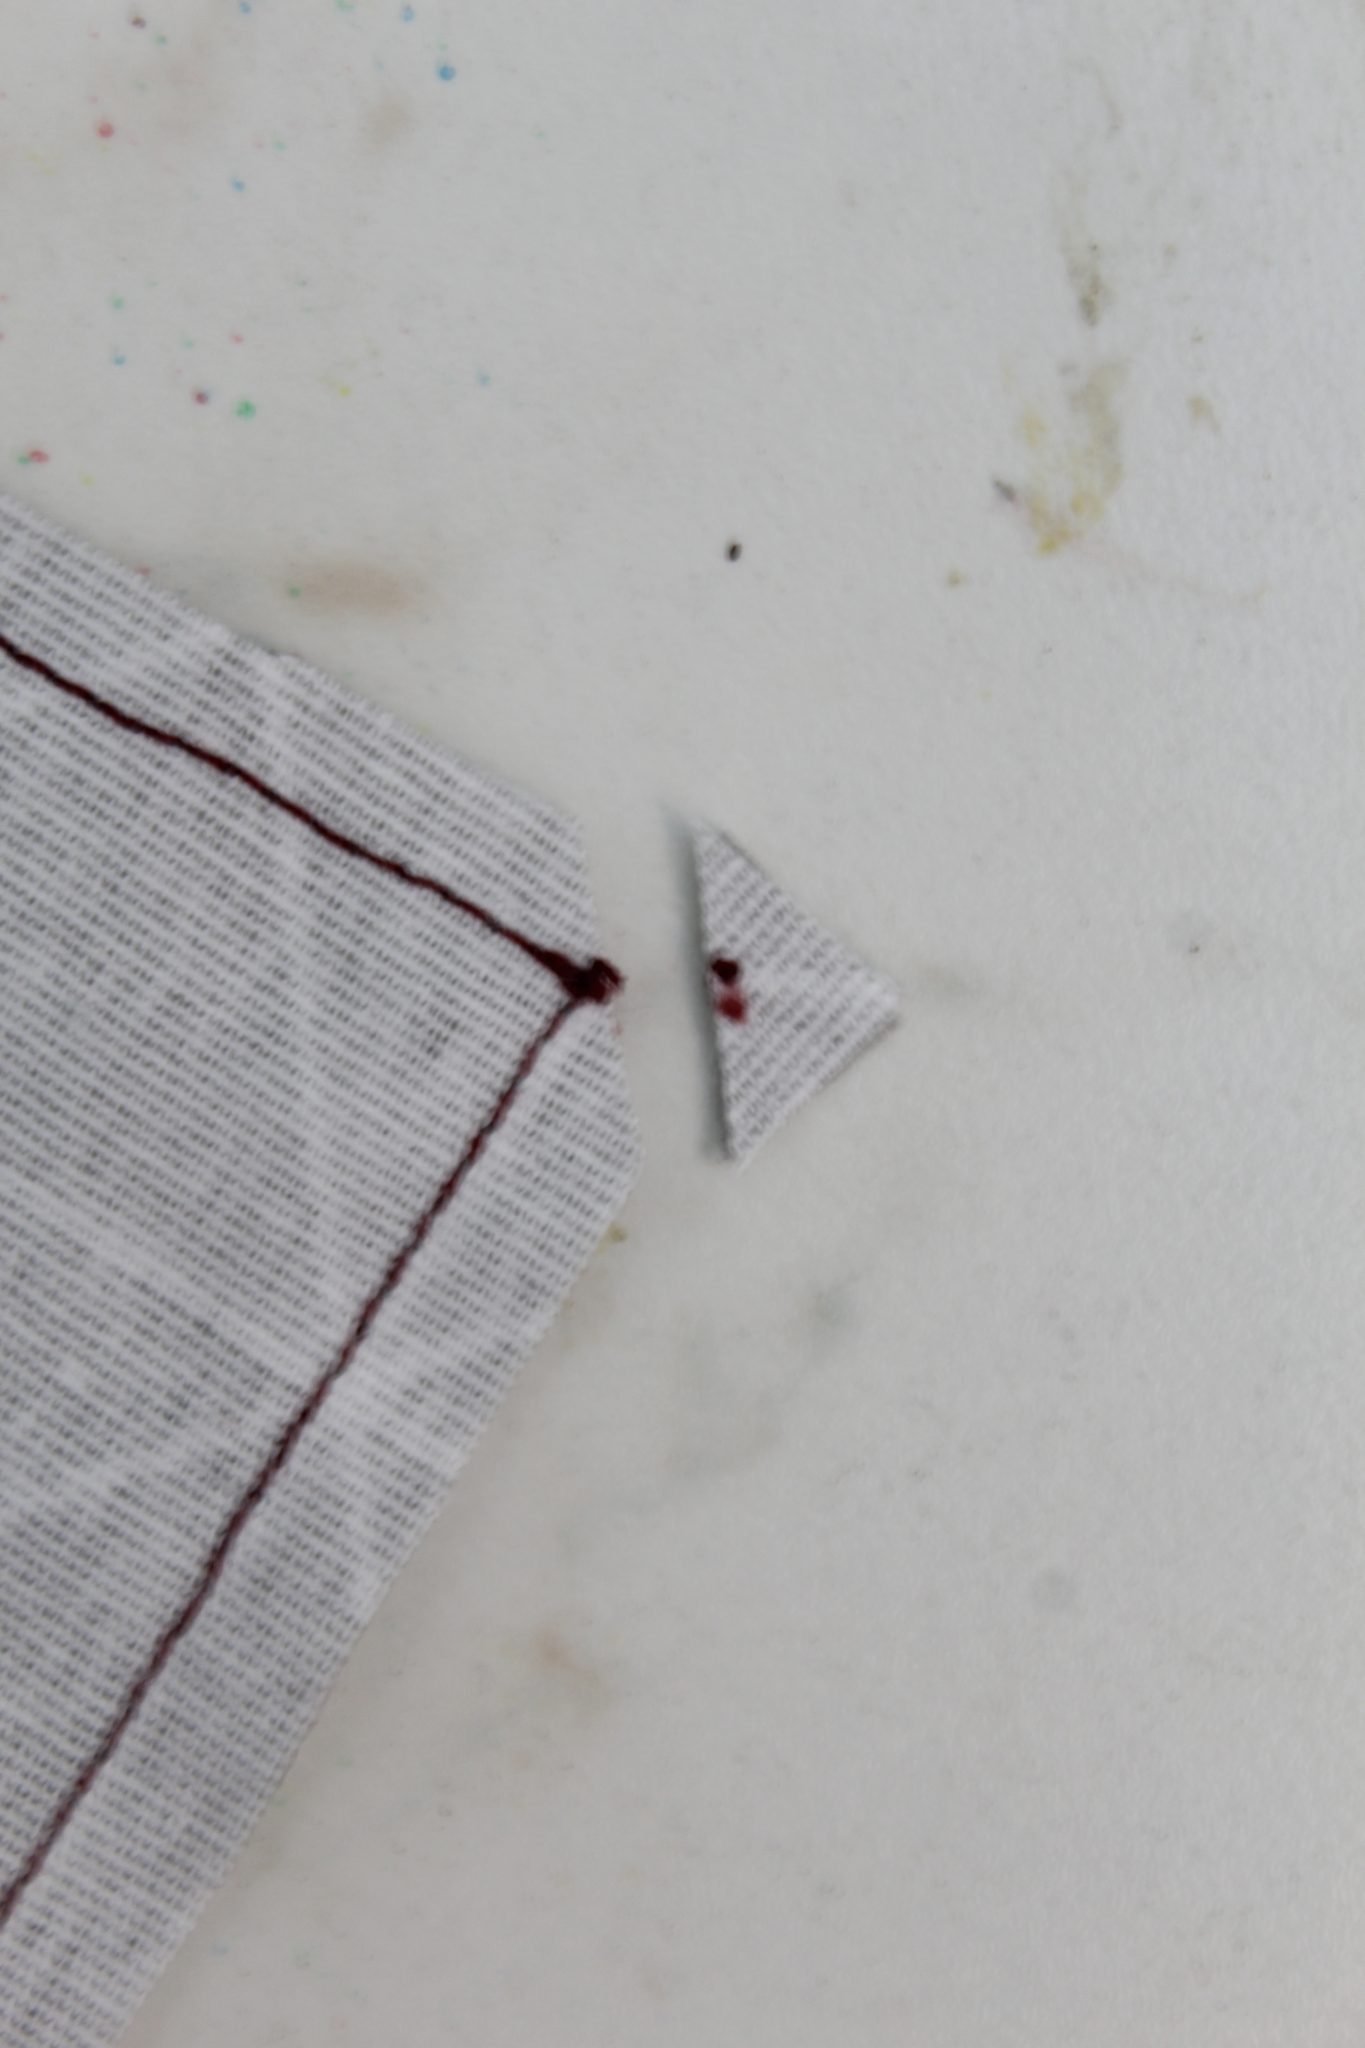
Step 4: Sew the Corner
Pin the corner in place and sew across the marked line. Backstitch at the beginning and end to secure the seam. Trim off the excess fabric, leaving about 1/4 inch of seam allowance.
Step 5: Turn It Right Side Out
Use a corner turner or a similar tool to push out the corner from the inside. Voilà! You’ve got a perfectly squared-off corner.
Common Mistakes to Avoid
Even the best sewists make mistakes sometimes. Here are a few common pitfalls to watch out for when sewing box corners:
- Not Measuring Properly: Always double-check your measurements before sewing. A small miscalculation can lead to uneven corners.
- Forgetting to Backstitch: This can cause your seams to come undone after a few washes. Always backstitch at the start and end of your seams.
- Trimming Too Close: Be careful not to trim too close to your stitches. You want to leave enough seam allowance to prevent fraying.
By keeping these tips in mind, you’ll avoid unnecessary frustration and end up with beautiful, flawless box corners.
Troubleshooting Tips
What do you do if things don’t go according to plan? Don’t panic! Here are some troubleshooting tips to help you fix any issues:
Problem: Uneven Corners
Solution: Check your measurements again and ensure your fabric is aligned correctly before sewing. Practice makes perfect, so don’t be afraid to try again.
Problem: Puckering Fabric
Solution: Adjust your tension settings on your sewing machine. Puckering often happens when the tension is too tight or too loose.
Advanced Techniques for Box Corners
Once you’ve mastered the basics, it’s time to level up your skills. Here are a few advanced techniques to try:
French Seam Box Corners
This technique encloses the raw edges of your fabric for a clean finish. It’s perfect for delicate fabrics that fray easily.
Double Box Corners
For larger projects like tote bags, double box corners can add extra volume and structure. Simply repeat the box corner process twice for a deeper effect.
Measuring Perfectly for Box Corners
Measuring is crucial when it comes to box corners sewing. Here’s a quick guide to help you measure like a pro:
- Decide the depth you want for your box corner.
- Measure and mark this depth on both sides of the corner.
- Draw a straight line connecting the two marks.
Remember, accuracy is key. Take your time to measure and mark carefully, and you’ll end up with perfect corners every time.
Which Fabric Types Work Best?
Not all fabrics are created equal when it comes to box corners sewing. Here’s a quick rundown of the best fabric types:
- Cotton: Easy to work with and holds its shape well.
- Linen: Adds a luxurious feel and looks great with box corners.
- Canvas: Perfect for heavier projects like bags and totes.
Avoid slippery or stretchy fabrics unless you’re experienced, as they can be tricky to handle.
Creative Ideas Using Box Corners
Now that you’ve got the hang of box corners sewing, here are some creative ideas to try:
- Make a stylish clutch with box corners for extra volume.
- Create a set of matching pillowcases with crisp, professional corners.
- Design a reusable shopping bag with double box corners for durability.
The possibilities are endless. Let your creativity run wild and see where box corners sewing takes you!
Final Thoughts on Box Corners Sewing
Box corners sewing might seem intimidating at first, but with practice and patience, you’ll master it in no time. Remember to measure carefully, use the right tools, and don’t be afraid to experiment with different fabrics and techniques.
So go ahead and sew those box corners with confidence. Share your creations with the world, and don’t forget to leave a comment or two below. Tell us about your favorite box corner projects or any tips you’d like to share. Happy sewing, folks!
And hey, if you liked this guide, make sure to check out our other sewing tutorials. There’s always more to learn in the wonderful world of crafting!
- Telugu Movie Guide Finding What You Searched For 20242025
- Movierulz Telugu Movies Latest News Reviews Where To Watch
Sewing Sharp Corners Quickest Easiest Way For Sewing Perfect Corners
Sewing Sharp Corners Quickest Easiest Way For Sewing Perfect Corners
Sewing Sharp Corners Quickest Easiest Way For Sewing Perfect Corners
