DIY Homemade T Post Puller: Your Ultimate Guide To Building One Like A Pro
Are you tired of struggling with stubborn T-posts that refuse to budge? Well, let me tell ya, there’s a game-changer waiting for you in the world of homemade T post pullers. This bad boy is not just a tool; it’s your new best friend for all your fencing and land management needs. Whether you’re a farmer, a DIY enthusiast, or someone who just loves getting their hands dirty, this project is about to rock your world big time.
Building your own T post puller might sound intimidating at first, but trust me, it’s way easier than you think. With the right materials, a bit of elbow grease, and some step-by-step guidance, you’ll have your very own puller up and running in no time. Not only will it save you money, but it’ll also give you that sweet satisfaction of knowing you built something with your own two hands.
So, buckle up, my friend, because we’re diving deep into the world of homemade T post pullers. From understanding what they are to actually building one, we’ve got you covered. Let’s get started, shall we?
- Kannada Movies Watch Online Legally Discover New Releases
- Watch Kannada Movies Online New Releases Reviews More
What Exactly is a Homemade T Post Puller?
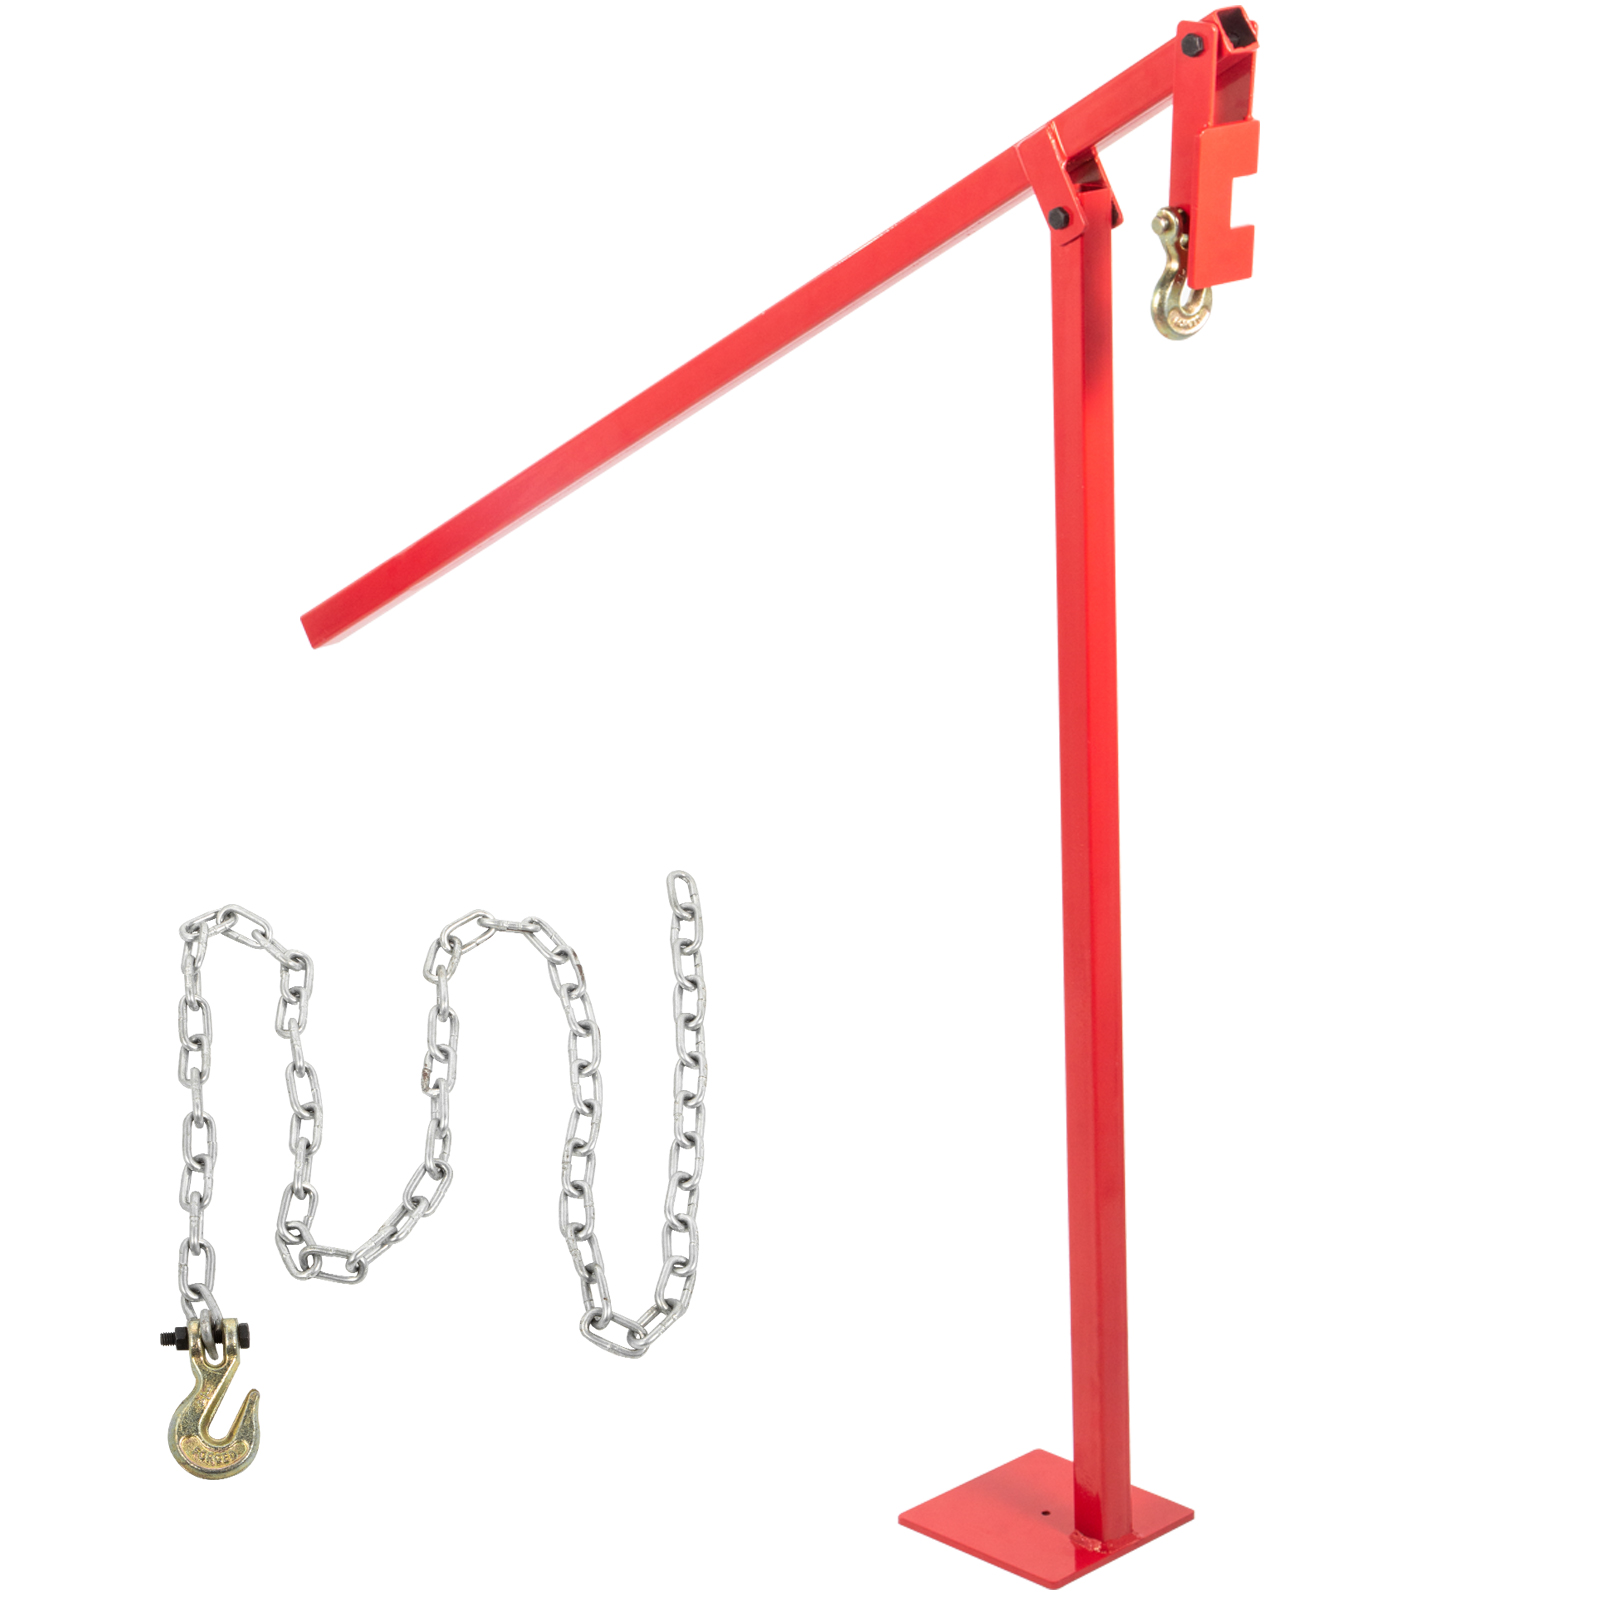
A homemade T post puller is basically a DIY tool designed to remove T-posts from the ground without all the hassle and frustration. Think of it as your personal brawn on steroids. Instead of yanking and pulling like a wild animal, this bad boy does the heavy lifting for you. And the best part? You can build it yourself using materials you probably already have lying around.
Why DIY When You Can Buy One?
Great question, my friend. While you can definitely buy a T post puller from the store, there are a few reasons why going the DIY route is worth it:
- Cost-Effective: Building your own puller is way cheaper than buying one. Plus, you can customize it to fit your specific needs.
- Learning Experience: There’s something incredibly satisfying about creating something with your own hands. It’s like leveling up in the DIY world.
- Customization: Store-bought pullers are one-size-fits-all, but with a homemade one, you can tailor it to your exact specifications.
Materials You’ll Need to Build a Homemade T Post Puller
Now that we’ve got the basics down, let’s talk about what you’ll need to build your very own T post puller. Don’t worry, nothing too fancy here. Most of these materials are pretty standard and can be found at your local hardware store or even in your garage.
- Desiremovies Watch Bollywood Hollywood Movies Online Year Guide
- Kannada Movie News Updates 2025 Find What You Seek
Essential Tools and Materials
- Pipe or Tubing (usually 2-3 inches in diameter)
- Steel Plate or Scrap Metal
- Welding Equipment (if you’re welding)
- Bolt Cutters
- Drill
- Hacksaw
- Measuring Tape
- Safety Gear (gloves, goggles, etc.)
And that’s pretty much it. Nothing too complicated, right? Now let’s move on to the fun part – building the thing!
Step-by-Step Guide to Building Your Homemade T Post Puller
Alright, here’s where the magic happens. Follow these steps carefully, and you’ll have your T post puller ready to go in no time.
Step 1: Planning and Design
Before you start cutting and welding, take a moment to plan out your design. Think about the size of the posts you’ll be pulling and how much leverage you’ll need. Sketch it out if you have to. Trust me, a little planning goes a long way.
Step 2: Cutting the Pipe
Using your hacksaw or bolt cutters, cut the pipe to your desired length. Typically, a 4-5 foot length works well, but adjust based on your needs. Make sure the cut is clean and straight for optimal performance.
Step 3: Creating the Jaws
This is where the steel plate comes in. Cut out two pieces of metal to form the jaws of your puller. These should be curved slightly to grip the T-post tightly. Drill holes in the jaws for attachment later.
Step 4: Assembling the Puller
Now it’s time to put everything together. If you’re welding, attach the jaws to the end of the pipe. If not, use bolts or clamps to secure them in place. Make sure everything is sturdy and secure before moving on.
Step 5: Testing Your Puller
Once your puller is assembled, it’s time to test it out. Find an old T-post and give it a try. If it works like a charm, congrats! You’ve just built your very own T post puller. If not, don’t sweat it. Adjustments are part of the process.
Tips and Tricks for Using Your Homemade T Post Puller
Now that you’ve built your puller, here are a few tips to make the most out of it:
- Use Leverage: Position the puller as close to the ground as possible to maximize leverage.
- Wear Safety Gear: Always wear gloves and goggles when using your puller to avoid any accidents.
- Regular Maintenance: Keep your puller clean and free of rust to ensure it lasts for years to come.
Common Mistakes to Avoid When Building a Homemade T Post Puller
Building a T post puller is pretty straightforward, but there are a few common mistakes that can trip you up:
1. Using the Wrong Materials
Not all pipes and metals are created equal. Make sure you’re using materials that are strong enough to handle the job.
2. Skipping Safety Precautions
It might seem like overkill, but safety gear is crucial. One wrong move without gloves or goggles could result in injury.
3. Overcomplicating the Design
Remember, simplicity is key. Don’t overthink the design. Stick to the basics and you’ll be fine.
Benefits of Using a Homemade T Post Puller
So, why should you bother with a homemade T post puller? Let me tell ya, the benefits are plenty:
- Cost Savings: Building your own puller is way cheaper than buying one.
- Customization: You can tailor it to fit your exact needs and preferences.
- Sense of Accomplishment: There’s nothing quite like the satisfaction of creating something with your own hands.
Real-Life Success Stories
Don’t just take my word for it. Here are a couple of real-life success stories from people who’ve built their own T post pullers:
John from Texas
“I built my first T post puller last summer, and it’s been a game-changer. I’ve saved hundreds of dollars and it’s made my fencing projects so much easier.”
Sarah from Ohio
“As a DIY enthusiast, I love building my own tools. My homemade T post puller is one of my proudest creations. It’s strong, durable, and works like a charm.”
Conclusion: Take Action Today!
So, there you have it, folks. Building a homemade T post puller is easier than you think, and the benefits are well worth the effort. From saving money to gaining a new skill, there’s so much to gain from this project.
Now, it’s your turn to take action. Grab those materials, follow the steps, and start building your very own T post puller. And once you’re done, don’t forget to share your experience in the comments below. We’d love to hear about your journey!
Happy building, and may your T-posts never fight back again!
Table of Contents
- What Exactly is a Homemade T Post Puller?
- Why DIY When You Can Buy One?
- Materials You’ll Need to Build a Homemade T Post Puller
- Step-by-Step Guide to Building Your Homemade T Post Puller
- Tips and Tricks for Using Your Homemade T Post Puller
- Common Mistakes to Avoid When Building a Homemade T Post Puller
- Benefits of Using a Homemade T Post Puller
- Real-Life Success Stories
- Conclusion: Take Action Today!
- Kannada Movies 2023 Find Legal Streaming Options Info Now
- Movie News More Exploring Movierulz Beyond Year
T Post Puller Harbor Freight Wholesale Price

T Post Stump Puller, 42 OFF conservacion.exactas.uba.ar
TPost Puller CalWest Rentals
