How To Draw A Picture Of Sonic: A Step-by-Step Guide For Fans
Let’s be real, Sonic the Hedgehog is more than just a video game character—he’s an icon, a legend, and honestly, a cultural phenomenon. If you’re here because you want to learn how to draw a picture of Sonic, you’re in the right place. Whether you’re a beginner or someone who’s been sketching for years, this guide will walk you through every step to help you create your very own Sonic masterpiece.
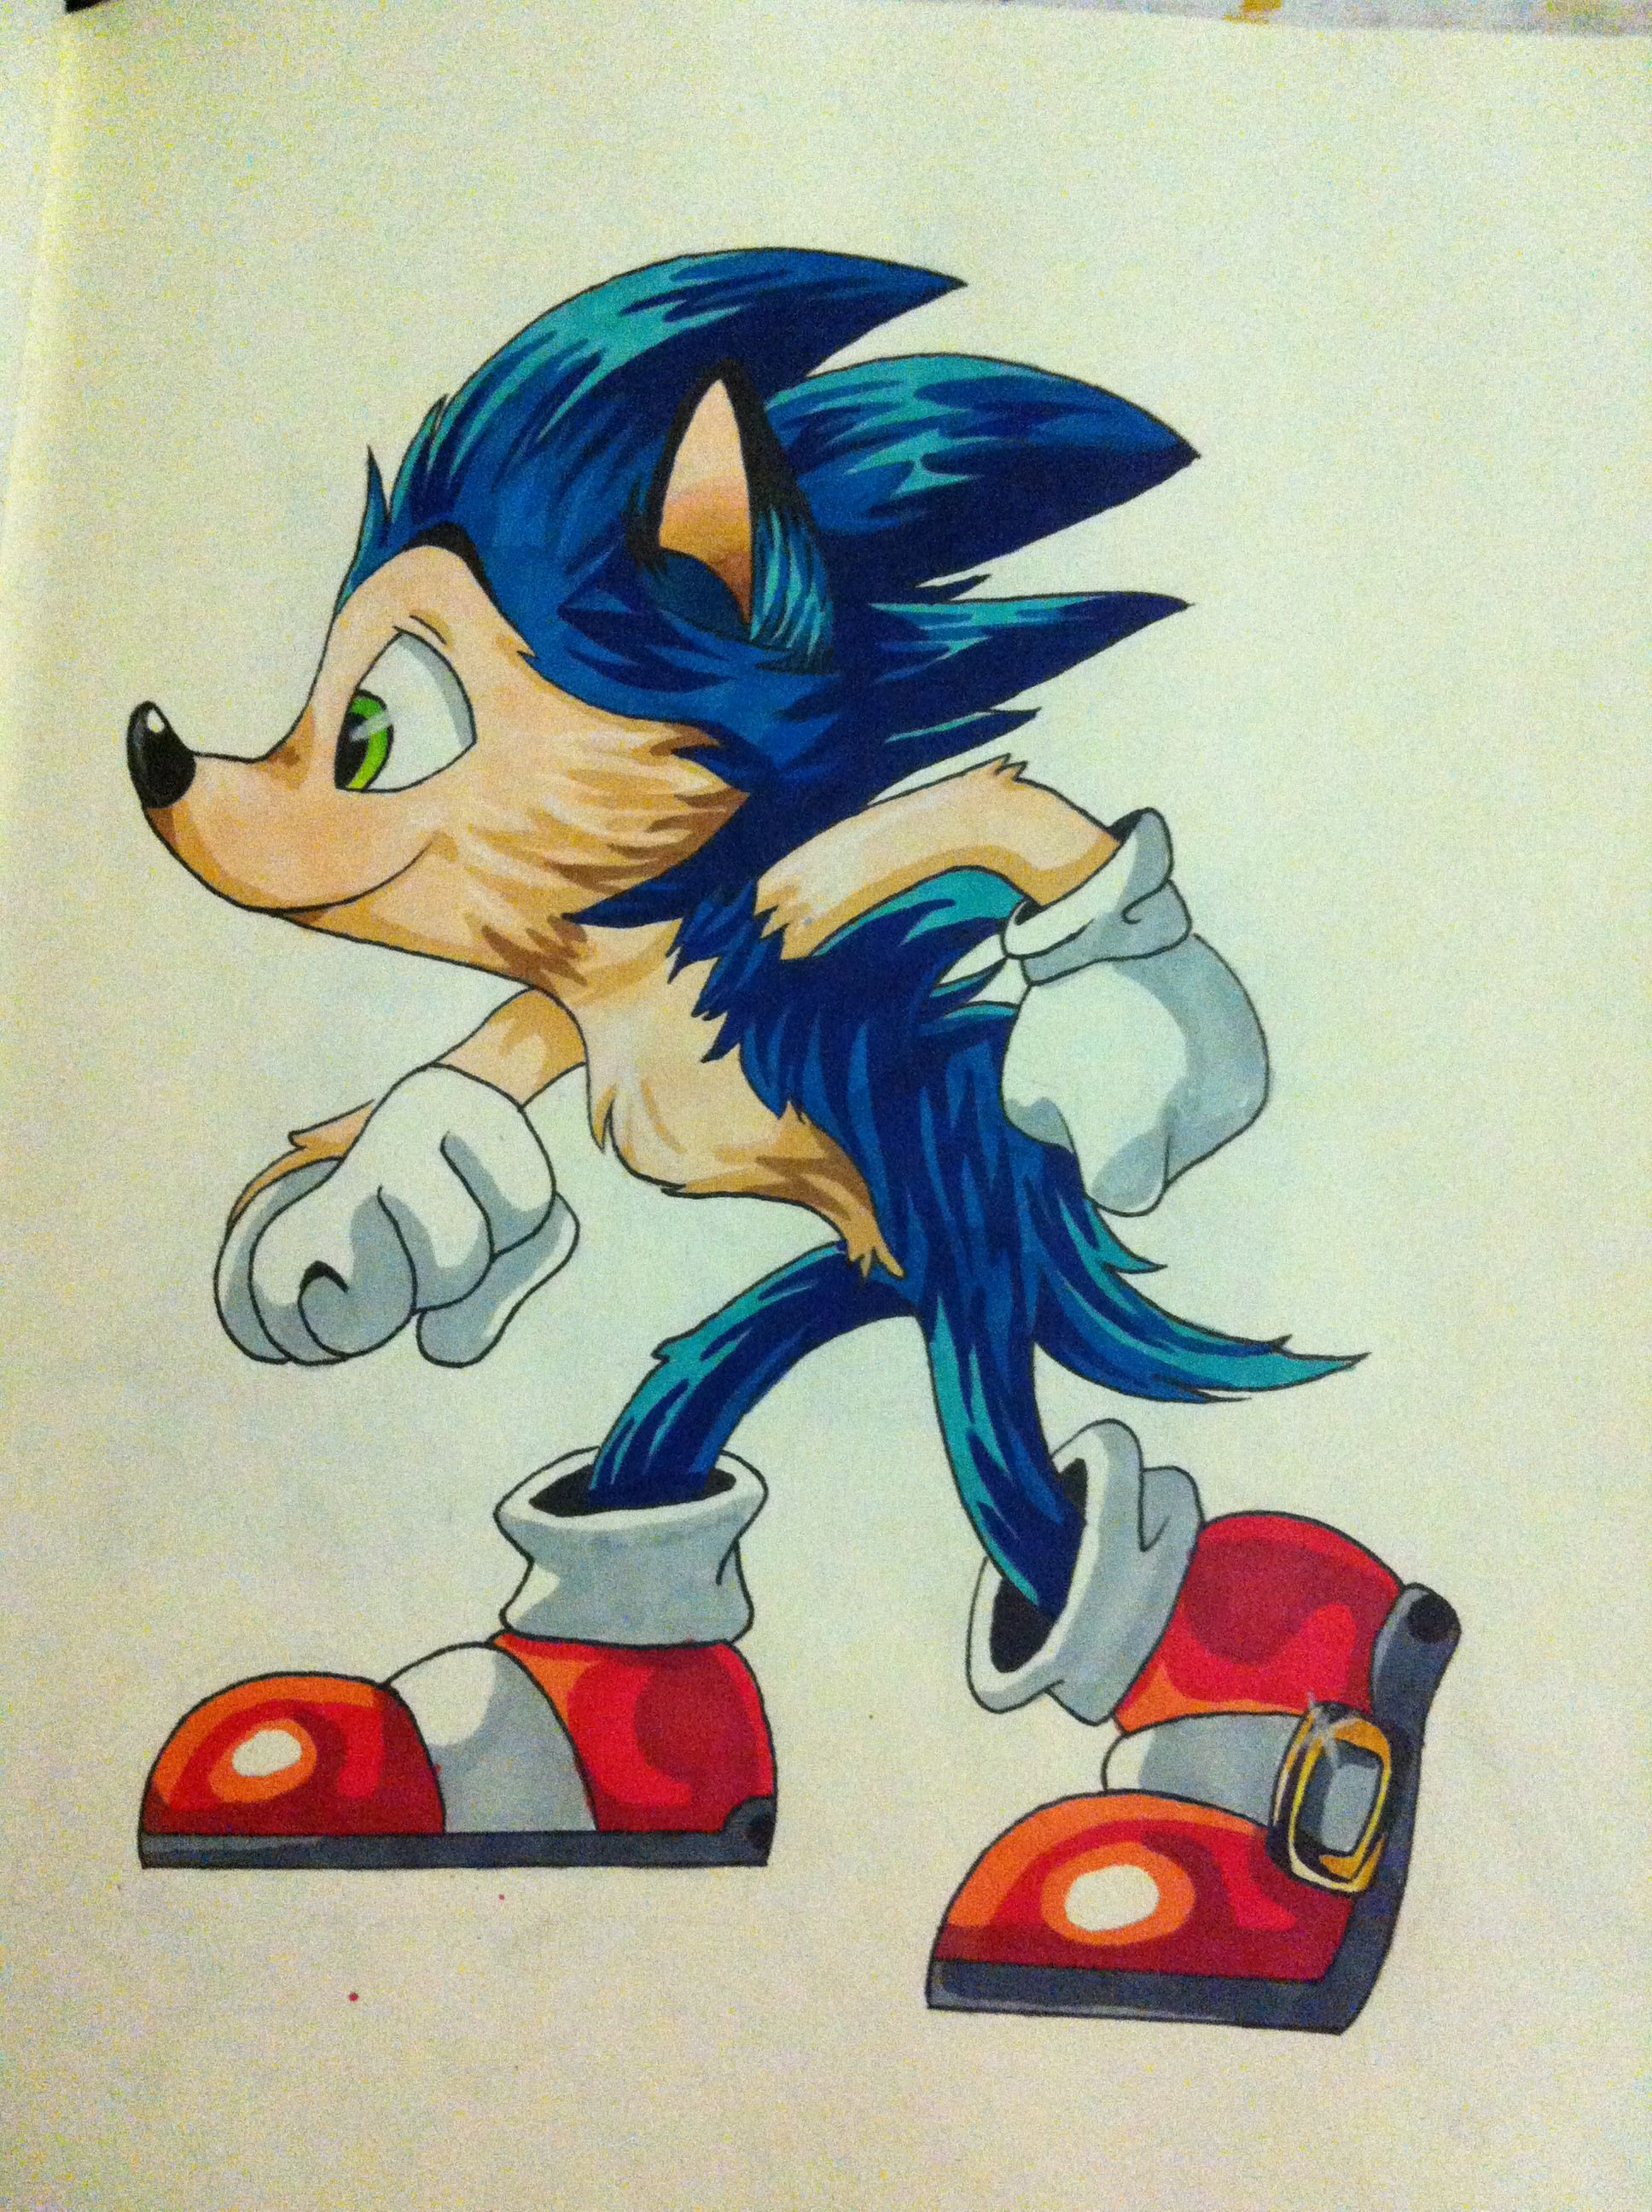
Now, I get it. Drawing Sonic might seem intimidating at first. After all, he’s got that signature blue fur, sharp spines, and those iconic red shoes with white highlights. But don’t worry—we’re going to break it down into bite-sized chunks so even if you’re just starting out, you can still rock this.
And hey, if you’re thinking, “Why should I bother drawing Sonic?” Well, my friend, art is all about expression. Drawing Sonic isn’t just about replicating his image—it’s about connecting with something you love and putting your own spin on it. So grab your pencil, eraser, and let’s dive in!
- Fix No Results Spelling Search Tips More
- Movierulz Is It Safe Latest Updates Legal Streaming Alternatives
Why Drawing Sonic is Worth Your Time
Before we jump into the nitty-gritty of drawing Sonic, let’s take a moment to appreciate why this little blue guy is worth your artistic efforts. Sonic has been around since 1991, and over the years, he’s become one of the most beloved video game characters of all time. His speed, attitude, and charm make him a perfect subject for any artist looking to flex their creative muscles.
Plus, drawing Sonic is a great way to practice your skills. He’s got a unique design that combines simple shapes with intricate details, making him the perfect challenge for artists of all levels. Whether you’re working on proportions, shading, or coloring, Sonic’s got something for everyone.
And let’s not forget the satisfaction of finishing a piece you’re proud of. There’s nothing quite like looking at a drawing you created and thinking, “Yeah, I nailed it.” So, are you ready to channel your inner artist and draw a picture of Sonic?
- Movierulz Amp No Results Telugu Movie Streaming Tips Amp Alternatives
- Kannada Movies 2023 Watch Online Top Films Movierulz Update
What You’ll Need to Get Started
Before we dive into the drawing process, let’s talk about what you’ll need to get started. Don’t worry, you don’t need a fancy art studio or expensive supplies—just the basics will do. Here’s a quick list:
- Pencil (HB or 2B works great)
- Eraser (a kneaded eraser is ideal, but any eraser will do)
- Sketchbook or drawing paper
- Colored pencils, markers, or digital tools (optional)
- A reference image of Sonic (we’ll talk about this later)
Now, I know what you’re thinking—“Do I really need a reference image?” The answer is yes. Even the best artists use references to ensure their drawings are accurate. It’s not cheating; it’s smart. Trust me, your future Sonic masterpiece will thank you.
Step 1: Understanding Sonic’s Anatomy
Alright, let’s get down to business. The first step in drawing a picture of Sonic is understanding his anatomy. Now, I’m not talking about his bones or muscles (thank goodness), but rather his proportions and overall structure. Sonic’s design is all about simplicity, so once you get the hang of it, you’ll be sketching him in no time.
Here are a few key things to keep in mind:
- Sonic’s head is roughly the size of a circle, but it’s slightly elongated at the bottom.
- His body is about two heads tall, with a slim and athletic build.
- His arms and legs are long and tapered, giving him that speedy look.
- His spines are curved and flow backward, creating a dynamic silhouette.
Remember, Sonic’s design is all about movement and energy. Even when he’s standing still, he looks like he’s ready to take off at a moment’s notice. Keep that in mind as you start sketching.
Step 2: Sketching the Basic Shapes
Now that you understand Sonic’s anatomy, it’s time to start sketching. Begin by drawing the basic shapes that make up his body. This is where your reference image will come in handy. Don’t worry about making everything perfect at this stage—just focus on getting the proportions right.
Here’s a quick breakdown:
- Draw a circle for Sonic’s head.
- Add a smaller oval for his chest and a larger oval for his hips.
- Sketch two lines for his arms and legs, making sure they’re long and tapered.
- Don’t forget to add a few curved lines for his spines!
Once you’ve got the basic shapes down, take a step back and check your work. Does everything look proportional? Are the shapes aligned correctly? If not, now’s the time to make adjustments. Trust me, it’s much easier to fix mistakes at this stage than later on.
Tips for Sketching Sonic’s Spines
Sonic’s spines are one of his most defining features, so it’s important to get them right. Here are a few tips to help you nail them:
- Start with a few curved lines that flow backward from his head.
- Make sure the spines taper at the ends for that sleek, aerodynamic look.
- Don’t be afraid to overlap the spines to create depth and dimension.
Remember, Sonic’s spines aren’t just random lines—they’re part of what makes him who he is. Take your time and make sure they look sharp (pun intended).
Step 3: Adding Details to Sonic’s Face
Now that you’ve got the basic shapes down, it’s time to focus on Sonic’s face. This is where you can really bring him to life. Start by sketching his eyes, which are large and expressive with a hint of mischief. Then, add his nose, which is small and triangular, and his mouth, which is usually curved into a confident smile.
Here are a few things to keep in mind:
- Sonic’s eyes are almond-shaped and filled with energy.
- His pupils are small and black, giving him that sharp, focused look.
- His nose is positioned just below his eyes and is slightly tilted upward.
- His mouth is usually curved upward, but you can experiment with different expressions if you want.
Once you’ve added the details to Sonic’s face, take a moment to step back and admire your work. Does he look like Sonic? If not, don’t worry—just make a few adjustments until you’re happy with the result.
Step 4: Refining Sonic’s Body
Now that you’ve got Sonic’s face down, it’s time to refine the rest of his body. Start by adding more detail to his arms and legs, making sure they’re proportionate and dynamic. Then, sketch in his gloves and shoes, which are just as iconic as his spines.
Here are a few tips for refining Sonic’s body:
- His arms should be long and tapered, with his hands slightly curved.
- His legs should be even longer, with his feet pointing slightly outward.
- His gloves are white and cover his hands completely, while his shoes are red with white highlights.
Remember, Sonic’s design is all about speed and agility, so make sure his body reflects that. Take your time and don’t be afraid to make adjustments as needed.
Adding Texture to Sonic’s Fur
Sonic’s fur is another defining feature of his design, so it’s important to add texture to make it look realistic. Start by sketching a few curved lines along his body to create the illusion of fur. Then, add some shading to give it depth and dimension.
Here are a few tips for adding texture to Sonic’s fur:
- Use light, feathery strokes to create the illusion of fur.
- Add more lines in areas where the fur is longer, like his spines.
- Use shading to create shadows and highlights, making the fur look more realistic.
Once you’ve added texture to Sonic’s fur, take a step back and check your work. Does he look like he’s ready to zoom off the page? If so, you’re doing great!
Step 5: Coloring Your Sonic Drawing
Now that you’ve got the basic sketch down, it’s time to add some color. Whether you’re using colored pencils, markers, or digital tools, this is where you can really make your Sonic drawing pop. Start by coloring his fur blue, his eyes green, and his shoes red with white highlights.
Here are a few tips for coloring your Sonic drawing:
- Use a light blue for Sonic’s fur and add darker shades for shadows.
- Make his eyes a vibrant green and add a white highlight for that sparkly look.
- Use a bright red for his shoes and add white highlights for that classic Sonic look.
Remember, color is all about expression, so don’t be afraid to experiment with different shades and tones. The more you practice, the better you’ll get.
Step 6: Final Touches
Now that you’ve got the basics down, it’s time to add those final touches that will make your Sonic drawing truly shine. Take a moment to go over your work and make sure everything looks the way you want it to. Add any last-minute details, adjust the shading, and make sure everything is proportional.
Once you’re happy with your drawing, take a step back and admire your work. Congratulations—you’ve just created your very own Sonic masterpiece!
Sharing Your Sonic Drawing with the World
Now that you’ve finished your Sonic drawing, why not share it with the world? Post it on social media, show it to your friends, or even enter it in an art contest. Who knows? You might just inspire someone else to pick up a pencil and start drawing.
Common Mistakes to Avoid When Drawing Sonic
As with any art project, there are a few common mistakes to watch out for when drawing Sonic. Here are a few to keep in mind:
- Forgetting to use a reference image. Trust me, it makes a huge difference.
- Not paying attention to proportions. Sonic’s design is all about balance, so make sure everything is in proportion.
- Overcomplicating the details. Sonic’s design is simple and streamlined, so don’t overdo it.
Remember, practice makes perfect. The more you draw Sonic, the better you’ll get. So don’t be discouraged if your first few attempts don’t turn out exactly how you want them to. Keep practicing, and you’ll get there.
Conclusion: You Did It!
Well, there you have it—a step-by-step guide to drawing a picture of Sonic. Whether you’re a beginner or a seasoned artist, I hope this guide has helped you create something you’re proud of. Remember, art is all about expression, so don’t be afraid to put your own spin on things.
And hey, if you’re feeling inspired, why not try drawing some of Sonic’s friends or enemies? Or maybe you could create your own Sonic-inspired character. The possibilities are endless!
So, what are you waiting for? Grab your pencil, eraser, and let your creativity run wild. And don’t forget to share your Sonic drawings with the world—you never know who you might inspire.
Table of Contents
- Introduction
- Why Drawing Sonic is Worth Your Time
- What You’ll Need to Get Started
- Understanding Sonic’s Anatomy
- Sketching the Basic Shapes
- Adding Details to Sonic’s Face
- Refining Sonic’s Body
- Coloring Your Sonic Drawing
- Final Touches
- Common Mistakes to Avoid
- Movierulz Movies Reviews News Fix No Results Errors
- Movierulz Telugu Movies 20232025 Watch Online Guide
How To Draw Sonic From Sonic The Hedgehog Movie Art For Kids Hub

4 Ways to Draw Sonic Characters wikiHow
Draw Sonic
