How To Delete A Checkbox In Excel: A Comprehensive Guide For Everyday Users
Deleting checkboxes in Excel might seem like a small task, but it can make a big difference when cleaning up your spreadsheets. Whether you're working on a project, managing data, or just tidying up your workbook, knowing how to delete checkboxes efficiently is a must-have skill. In this guide, we’ll walk you through everything you need to know about removing checkboxes in Excel, step by step.
Let’s face it—Excel is one of those tools that everyone uses, but not everyone masters. From simple data entry to complex formulas, it’s a powerhouse for organizing and analyzing information. But sometimes, things get cluttered, especially when you’re dealing with checkboxes. These little guys can be super helpful, but when they’re no longer needed, they can become a bit of a headache.
So, why focus on deleting checkboxes? Well, if you’ve ever tried to clean up a worksheet or remove unnecessary elements, you’ll know how important it is to have a clean and organized workspace. This guide will not only teach you how to delete checkboxes but also give you some extra tips to make your Excel experience smoother. Let’s dive in!
- Free Movie Streaming Guide Find Legal Sites Alternatives
- Movierulz Unblocked Find Movies Safe Alternatives Guide
Understanding Checkboxes in Excel
Before we jump into the deletion process, it’s essential to understand what checkboxes are and why they’re used in Excel. Checkboxes are interactive form controls that allow users to select or deselect options. They’re often used in forms, surveys, or any situation where you need to mark items as complete or incomplete.
In Excel, checkboxes can be added using the Developer tab or through the Forms toolbar. They’re great for tracking tasks, managing inventories, or creating interactive dashboards. However, once you’re done with them, they can clutter your spreadsheet if not removed properly.
Why Delete Checkboxes?
Here’s the deal—checkboxes are awesome when you need them, but they can become a problem when they’re no longer relevant. Some common reasons for deleting checkboxes include:
- Kannada Movies 2025 Find New Releases Reviews More
- Movierulz Illegal Movie Sites Avoid These Risks Alternatives
- Cleaning up old or unused worksheets
- Removing clutter from your spreadsheet
- Preparing your file for sharing with others
- Optimizing your workbook for better performance
Deleting checkboxes isn’t just about aesthetics; it’s also about functionality. A clean and organized workbook runs smoother and looks more professional.
How to Delete a Single Checkbox in Excel
Deleting a single checkbox is straightforward and can be done in just a few clicks. Here’s how:
- Open your Excel workbook
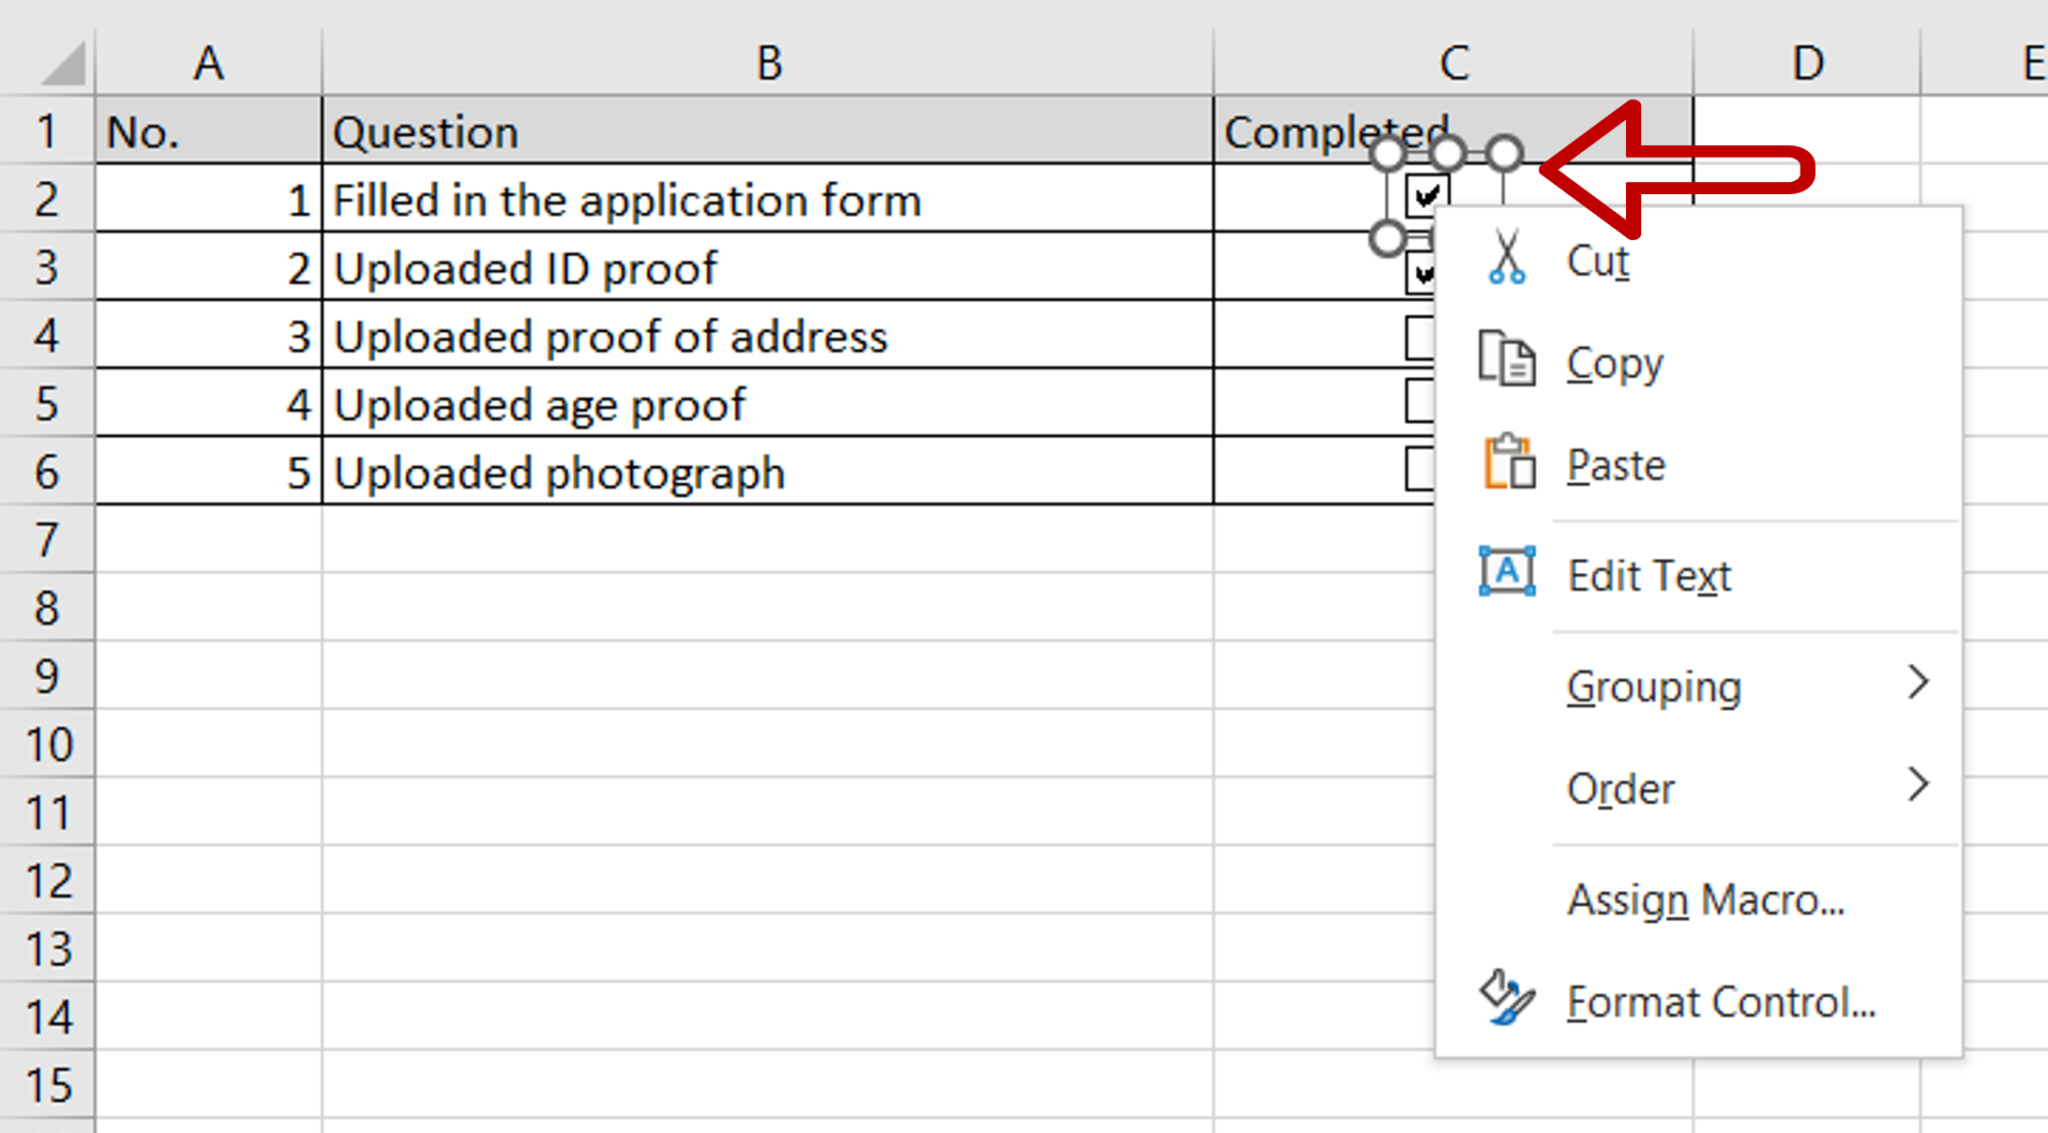
- Click on the checkbox you want to delete
- Press the Delete key on your keyboard
That’s it! The checkbox will disappear, and your worksheet will look cleaner. This method works great when you only need to remove one or two checkboxes. But what if you have dozens of them? Don’t worry—we’ve got you covered.
Tips for Selecting Checkboxes
When deleting a single checkbox, it’s important to select it correctly. Here are a few tips to make the process easier:
- Use the arrow keys to navigate to the checkbox
- Click on the border of the checkbox instead of the checkmark
- Hold down the Shift key to select multiple checkboxes at once
These tricks will save you time and effort, especially if you’re working with a large dataset.
How to Delete Multiple Checkboxes at Once
Deleting multiple checkboxes can be a bit trickier, but it’s definitely doable. Here’s a step-by-step guide:
- Open the Developer tab in Excel
- Click on the Select Objects button
- Use your mouse to drag a selection box around the checkboxes you want to delete
- Press the Delete key
This method is perfect for removing multiple checkboxes quickly and efficiently. Just make sure you’ve selected the right ones before hitting delete!
What If the Developer Tab Is Missing?
Some users might find that the Developer tab is missing from their Excel ribbon. Don’t panic! Here’s how to enable it:
- Go to the File tab
- Click on Options
- Select Customize Ribbon
- Check the box next to Developer
- Click OK
Once the Developer tab is enabled, you’ll have access to all the tools you need to manage checkboxes and other form controls.
Alternative Methods for Deleting Checkboxes
Sometimes, the traditional methods might not work as expected. Here are a couple of alternative ways to delete checkboxes in Excel:
Using VBA (Visual Basic for Applications)
If you’re comfortable with macros, you can use VBA to delete checkboxes automatically. Here’s how:
- Press Alt + F11 to open the VBA editor
- Insert a new module by clicking Insert > Module
- Copy and paste the following code:
Sub DeleteCheckboxes()
Dim shp As Shape
For Each shp In ActiveSheet.Shapes
If shp.Type = msoFormControl Then
shp.Delete
End If
Next shp
End Sub
Run the macro, and all checkboxes on the active sheet will be deleted. This method is especially useful for large workbooks with many checkboxes.
Using the Name Box
Another quick way to delete checkboxes is by using the Name Box:
- Click on the Name Box (located next to the formula bar)
- Type the name of the checkbox you want to delete
- Press Enter
- Press the Delete key
This method is great for targeting specific checkboxes without affecting others.
Common Mistakes to Avoid When Deleting Checkboxes
Deleting checkboxes might seem simple, but there are a few common mistakes that can cause problems. Here are some things to watch out for:
- Accidentally deleting the wrong checkbox
- Forgetting to save your workbook after making changes
- Not enabling the Developer tab before starting
- Using outdated versions of Excel that lack certain features
By being aware of these potential pitfalls, you can avoid unnecessary headaches and ensure a smooth deletion process.
How to Undo a Deletion
Let’s say you accidentally delete a checkbox you didn’t mean to. No worries! Excel has a built-in undo feature that can save the day. Simply press Ctrl + Z to undo the last action. If you’ve made multiple changes, you can keep pressing Ctrl + Z to revert them one by one.
Best Practices for Managing Checkboxes in Excel
Now that you know how to delete checkboxes, let’s talk about some best practices for managing them:
- Name your checkboxes clearly to avoid confusion
- Group related checkboxes together for easier management
- Regularly review and clean up your worksheets
- Use conditional formatting to highlight checkboxes
By following these tips, you’ll be able to keep your spreadsheets organized and efficient, even when working with multiple checkboxes.
When Should You Use Checkboxes?
Checkboxes are incredibly versatile and can be used in a variety of scenarios. Some common use cases include:
- Tracking tasks in a to-do list
- Managing inventory levels
- Creating interactive dashboards
- Designing forms for data collection
Just remember to use checkboxes judiciously and remove them when they’re no longer needed.
Conclusion: Take Control of Your Excel Workbooks
Deleting checkboxes in Excel might not be the most glamorous task, but it’s an essential skill for anyone who wants to keep their spreadsheets clean and organized. By following the methods outlined in this guide, you’ll be able to remove checkboxes quickly and efficiently, whether you’re dealing with one or a hundred.
So, what are you waiting for? Start cleaning up your worksheets today and take your Excel skills to the next level. And don’t forget to share this guide with your friends and colleagues who might find it useful. Together, we can all become Excel wizards!
Additional Resources
For more information on Excel tips and tricks, check out these trusted resources:
Table of Contents
- Understanding Checkboxes in Excel
- How to Delete a Single Checkbox in Excel
- How to Delete Multiple Checkboxes at Once
- Alternative Methods for Deleting Checkboxes
- Common Mistakes to Avoid
- Best Practices for Managing Checkboxes
- Conclusion
- Kannada Movies Latest News Reviews Where To Watch In 2025
- Movie Search Tips We Did Not Find Results Explained
How To Delete A Checkbox In Excel SpreadCheaters

How To Delete A Chart In Excel? Ajelix

How to Delete Empty Rows in Excel 9 Steps wikiHow
