Easy Remote IoT: Manage Behind Router, Mac Free [Guide]
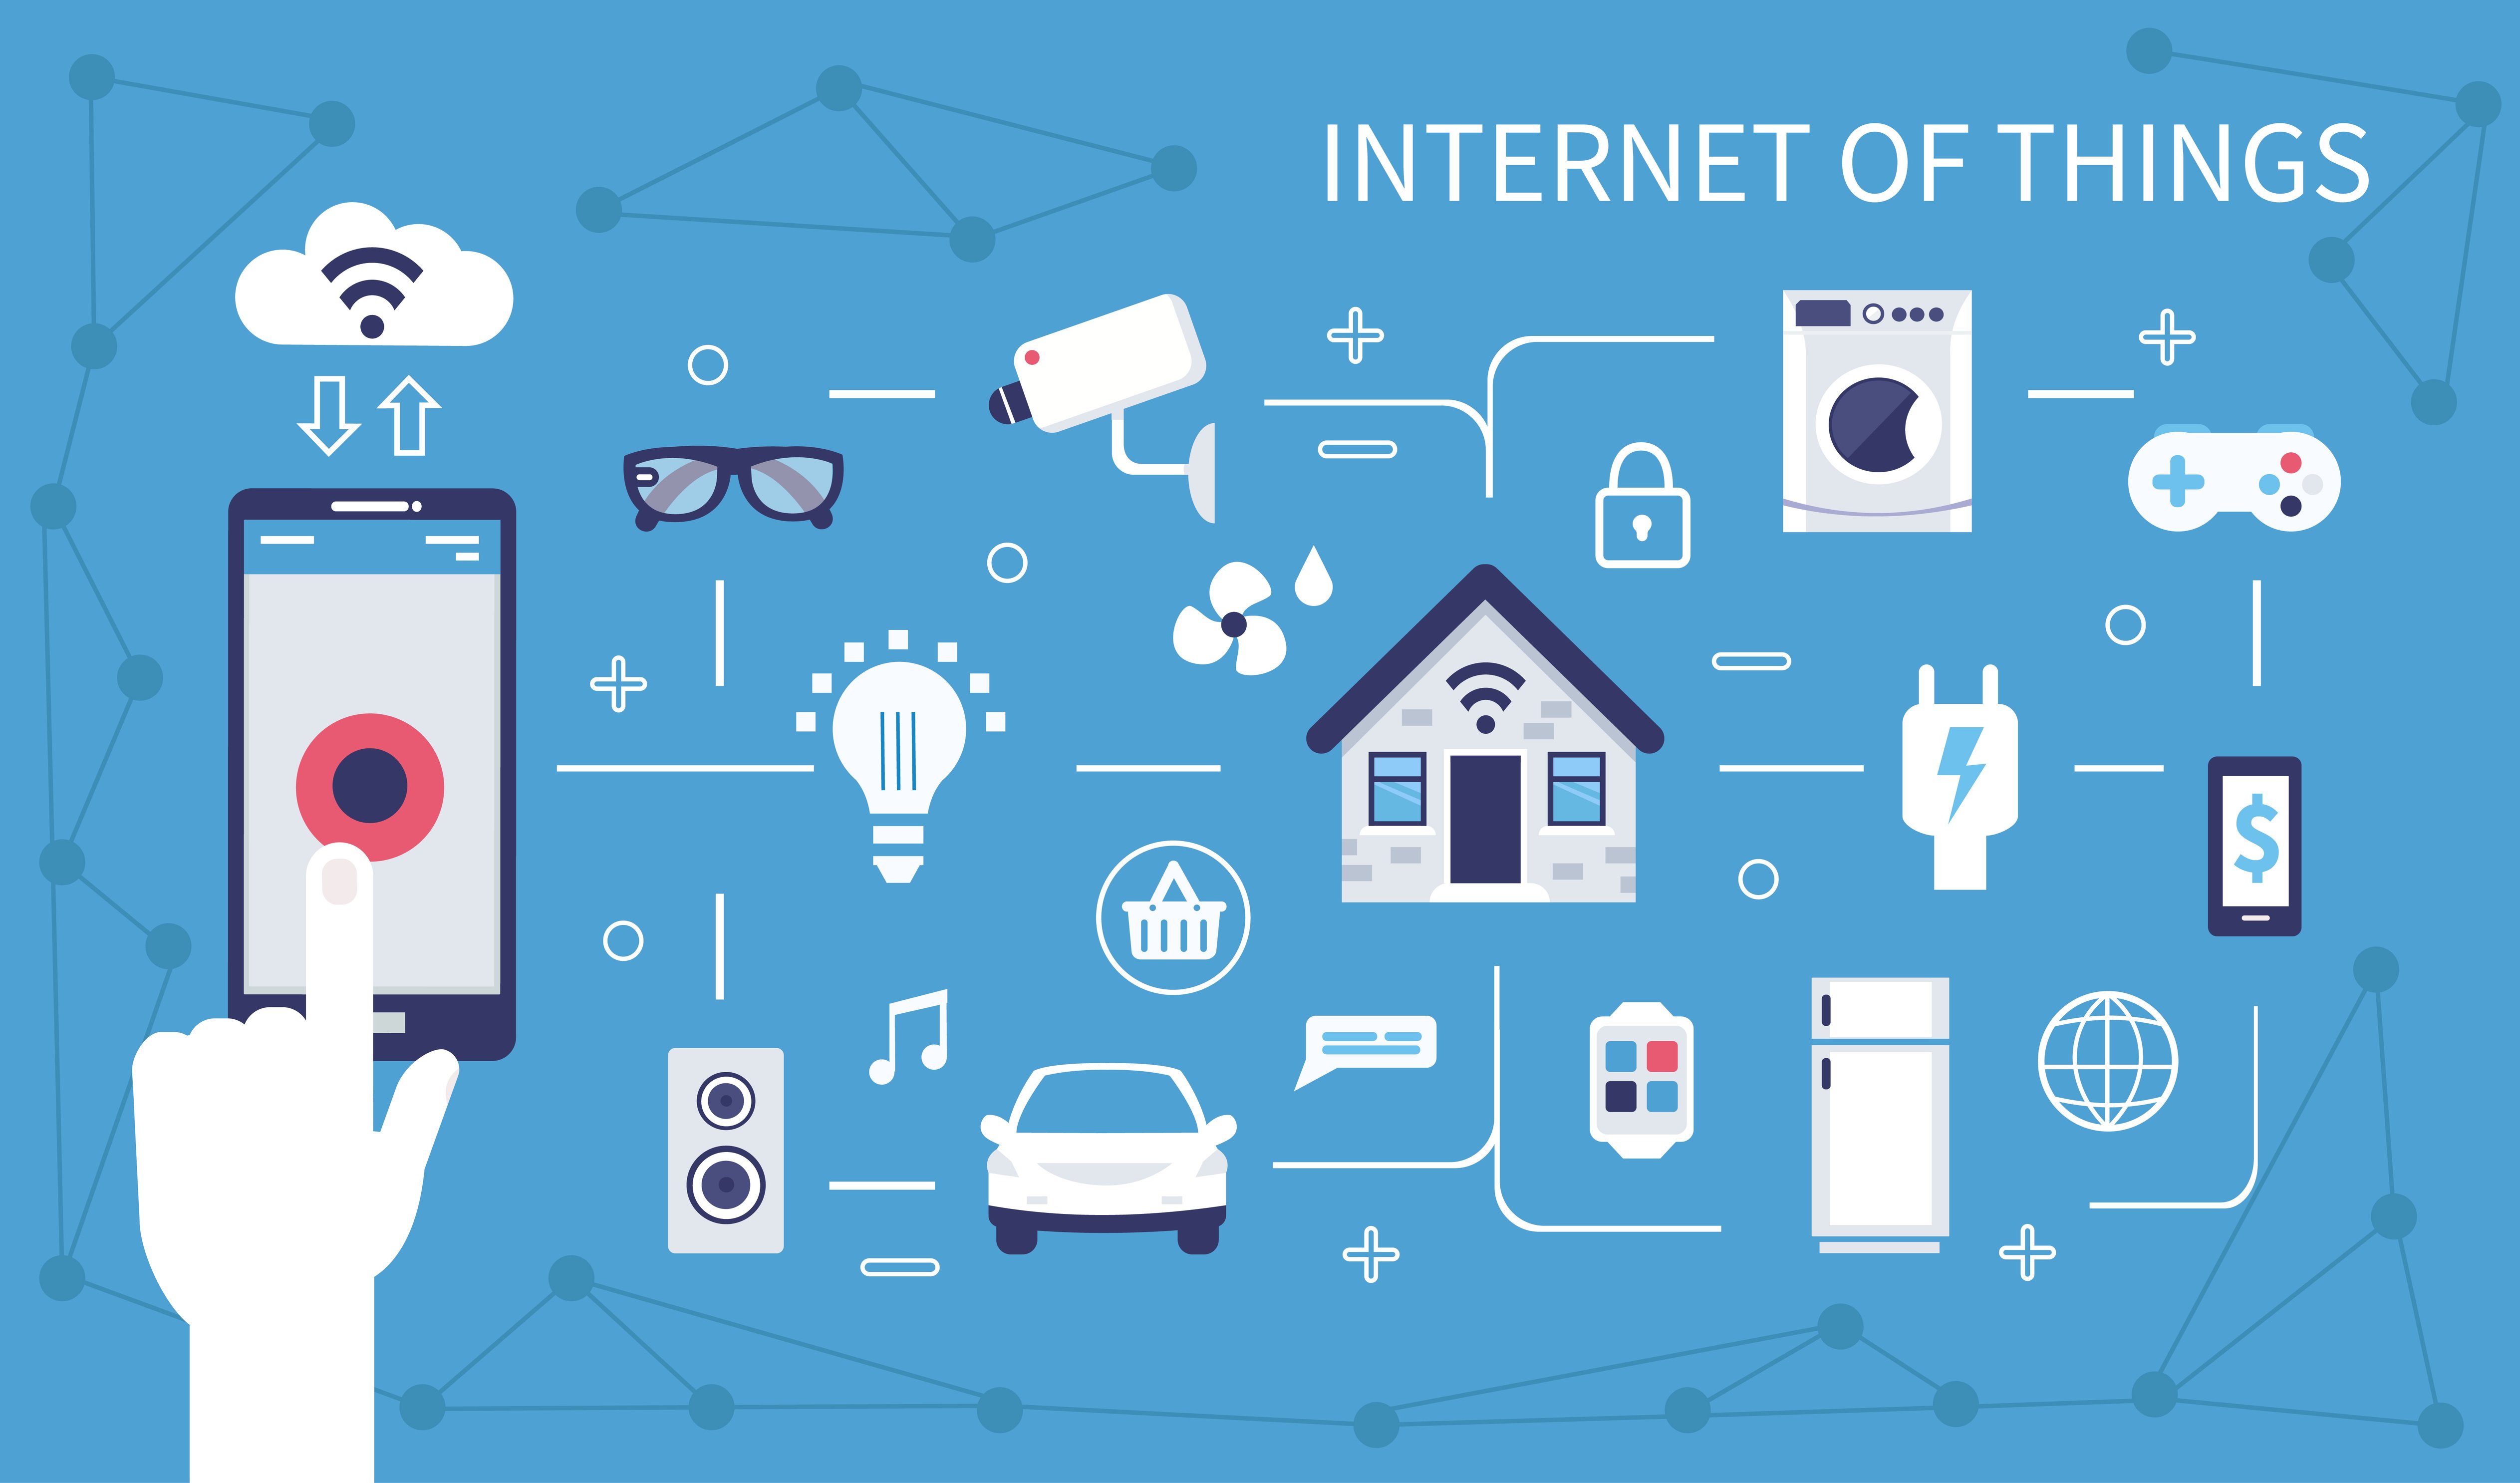
Ever found yourself locked out of your smart home devices simply because you're not on the same network? Gaining unrestricted remote access to your IoT devices, even behind a router with MAC address filtering, is not just a possibilityit's a necessity in today's interconnected world. We're here to guide you through it.
This article demystifies the process of remotely managing your Internet of Things (IoT) devices when they're tucked away behind a router, particularly one that employs MAC address restrictions. Remote control is no longer a luxury but a cornerstone of efficient IoT management. We'll explore the methods to bypass these restrictions, granting you effortless control and monitoring capabilities, irrespective of your location. The journey involves a bit of network savvy, a dash of security consideration, and the right tools but the rewards are immense.
| Topic | Remote IoT Access Behind Router with MAC Filtering |
| Challenge | Bypassing MAC address restrictions for remote device management |
| Solution Overview | Utilizing port forwarding, cloud platforms, and SSH tunneling |
| Key Technologies | Raspberry Pi, DDNS, SSH, Cloud IoT Platforms |
| Security Consideration | Implementing strong passwords, using VPNs, and keeping software updated |
| Benefits | Unrestricted remote access, enhanced device control, improved workflow efficiency |
| Reference | Example IoT Resource Website |
Let's dive straight into the heart of the matter. Many IoT devices, such as smart thermostats, security cameras, and home automation hubs, live within the confines of your local network. Your router, the gatekeeper of this network, often uses MAC address filtering as a security measure, allowing only devices with pre-approved MAC addresses to connect. This is fantastic for security at home, but what happens when you're away and need to adjust the temperature, check the security feed, or manage your smart devices? It's this scenario that demands a solution for remote access that sidesteps these restrictions.
Understanding the foundational elements of IoT networks is the first step. An IoT network comprises devices, a network (usually your home Wi-Fi), and a means of communication. Your router acts as the central hub, managing traffic and security. MAC address filtering is a common security feature where the router maintains a list of approved device MAC addresses. Devices not on this list are denied network access. To break free from this restriction, we need strategies that allow remote access without compromising security.
One of the most prevalent methods is port forwarding. Port forwarding involves configuring your router to direct traffic from a specific external port to a specific internal IP address and port. For example, if you want to access your security camera (IP address 192.168.1.10, port 80) from the internet, you would configure your router to forward external port 8080 to 192.168.1.10:80. This way, when you access your public IP address on port 8080, the traffic is routed to your camera. However, port forwarding alone can expose your device to potential vulnerabilities. It's crucial to use strong passwords and keep your device software updated.
Another technique involves utilizing Dynamic DNS (DDNS). Your home's public IP address is typically assigned dynamically by your internet service provider (ISP), meaning it can change periodically. This poses a problem for remote access, as you need to know the current IP address to connect. DDNS services provide a fixed hostname that automatically updates to reflect your current IP address. You create an account with a DDNS provider, install their software on a device within your network (like a Raspberry Pi), and the software continuously updates the hostname with your current IP address. Now, instead of remembering a constantly changing IP address, you can simply use the hostname to access your network.
Cloud platforms offer a more sophisticated solution. Cloud IoT platforms like AWS IoT, Google Cloud IoT Core, and Microsoft Azure IoT Hub provide a secure and scalable infrastructure for managing IoT devices. These platforms handle device authentication, data ingestion, and remote control. To use a cloud platform, you need to register your device with the platform and configure it to communicate with the cloud. The cloud platform then acts as an intermediary, allowing you to control your device remotely through a web interface or mobile app. This approach offers enhanced security, scalability, and features like data analytics and device management.
SSH tunneling provides a secure and encrypted channel for remote access. SSH (Secure Shell) is a protocol used to securely access a remote computer. By creating an SSH tunnel, you can forward traffic from your local machine to a device behind your router. This involves setting up an SSH server on a device within your network (like a Raspberry Pi) and configuring your router to forward SSH traffic to that device. Then, you can use an SSH client on your remote machine to create a tunnel to the desired device. All traffic within the tunnel is encrypted, ensuring secure remote access.
Raspberry Pi emerges as a versatile tool in this context. It can act as a local server, handling DDNS updates, SSH tunneling, or even running a lightweight IoT platform. Its low cost and energy efficiency make it an ideal choice for a dedicated IoT management device. By installing the necessary software and configuring network settings, you can transform a Raspberry Pi into a powerful gateway for remote IoT access.
To effectively manage IoT devices remotely, security must be paramount. Always use strong, unique passwords for your devices and router. Enable two-factor authentication wherever possible. Keep your device firmware and software updated to patch any security vulnerabilities. Consider using a VPN (Virtual Private Network) to encrypt all traffic between your remote machine and your home network. A VPN creates a secure tunnel, protecting your data from eavesdropping and unauthorized access.
Let's consider a practical scenario: controlling a smart thermostat from your smartphone while on vacation. The thermostat is behind a router with MAC address filtering. To achieve remote access, you could use the following steps:
- Set up a DDNS service and configure your router to update the DDNS hostname.
- Configure your router to forward port 22 (SSH) to a Raspberry Pi on your network.
- Install an SSH server on the Raspberry Pi.
- On your smartphone, use an SSH client to create a tunnel to the thermostat's IP address and port.
- Use a thermostat control app on your smartphone, configuring it to use the local port forwarded through the SSH tunnel.
This setup allows you to securely access and control your thermostat from anywhere with an internet connection, bypassing the MAC address filtering on your router.
Another approach involves using a cloud IoT platform. You would register the thermostat with the platform, install the platform's agent on the thermostat, and configure the thermostat to communicate with the cloud. Then, you can use the platform's web interface or mobile app to control the thermostat remotely. This approach offers enhanced security, scalability, and features like historical data logging and automated temperature schedules.
Remoteiot, in particular, is designed to address the challenges of accessing IoT devices behind restrictive routers. It often employs techniques like reverse SSH tunneling or cloud-based relay services to establish a secure connection without requiring complex port forwarding configurations. This simplifies the process and reduces the risk of exposing your devices to security threats.
For Mac users, learning how to use SSH for remote IoT management is particularly beneficial. macOS comes with built-in SSH client support, making it easy to establish secure connections to your IoT devices. By leveraging SSH tunneling, you can bypass MAC address restrictions and gain full control over your devices from your Mac, whether you're at home, at the office, or on the road.
Accessing remote IoT devices behind a router with Raspberry Pi for free on Mac is a viable and cost-effective solution. By combining the power of Raspberry Pi with readily available software and tools, you can create a robust and secure system for managing your IoT devices remotely. The key is to understand the underlying network concepts, implement appropriate security measures, and choose the right tools for your specific needs.
Setting up your Raspberry Pi involves installing a suitable operating system (like Raspberry Pi OS), configuring network settings, and installing the necessary software packages. Enabling port forwarding on your router involves accessing the router's configuration interface and specifying the external and internal ports to forward. Using DDNS involves creating an account with a DDNS provider, installing their software on your Raspberry Pi, and configuring the software to update the DDNS hostname automatically.
The phrase "how to use remote manage iot behind router mac free" encapsulates the core objective of this article: providing users with the knowledge and tools to control their IoT devices remotely without being hindered by MAC address filtering or incurring additional costs. This involves a combination of technical skills, security awareness, and the willingness to explore different approaches.
Whether you're managing smart home devices, industrial sensors, or remote monitoring systems, understanding how to use Remoteiot behind a router with MAC restrictions is essential. It empowers you to maintain control over your devices, regardless of your location or network configuration. This knowledge is particularly valuable in today's increasingly interconnected world, where remote access is becoming the norm rather than the exception.
The ability to manage IoT devices remotely behind a router with a MAC address can be challenging, but its a skill worth mastering in todays interconnected world. With the right knowledge, tools, and security practices, you can create a robust and reliable system for managing your devices from anywhere in the world.
- Top 10 Richest People In Kenya See Who Made The List
- Guide Movierulz Kannada Movie Download 2024 Max Legal Ways
How To Use Remote Manage IoT Behind Router Mac Free A Comprehensive Guide

How To Securely Access IoT Devices Behind Firewalls A Guide To Remote

How To Use Remote Manage IoT Over Internet Mac Without Hassle
